refined sugar free

Apple & Strawberry Gluten Free Muffins

strawberry muffin web.jpg

I've been working on a gluten free muffin recipe that was also egg/soy/dairy free (so it excluded the most common food intolerances that I encounter) AND wasn't too dense AND delicious. I knew I was onto something when my kids literally gobbled up the first batch that I made using the following recipe!

As with all of our recipes, you can swap things like the gluten free flours for regular wheat/spelt/khorasan flour, the milk for any milk your prefer, the coconut sugar for regular cane sugar and the apple puree for banana (or even pumpkin puree).

These gluten free muffins are perfect for lunch boxes or day trips, they keep well for up to 5 days (although best stored in the fridge) and freeze well. Enjoy! -Renee x

INGREDIENTS

  • 1 1/2 cups brown rice flour

  • 1/4 cup besan (chickpea) flour

  • 1/4 cup arrowroot/tapioca flour

  • 1 tsp baking soda

  • 1 1/2 tsp baking powder

  • 1 tsp ground cinnamon

  • 1/4 tsp salt

  • 1/2 cup coconut sugar (you can also use regular cane sugar)

  • 1/3 cup coconut oil

  • 2 flax eggs (2 tbs ground flaxseed combined with 4 tbs water, mixed well and set aside)

  • 1 cup apple puree

  • 1 tbs apple cider vinegar

  • 1 tsp vanilla essence

  • 1/2 cup milk (nut, soy, rice etc)

  • 1 cup fresh or frozen strawberries, chopped (you can use any berry)

apple puree web.jpg

METHOD

  1. Preheat oven to 180 degrees celsius. Grease two muffin trays and place both on a large baking tray and set aside.

  2. Combine the apple puree, sugar, vanilla essence and coconut oil until well mixed.

  3. Add the flours, salt, baking powder and soda, salt, flaxeggs, cinnamon and milk and process until smooth. 

  4. Gently stir in the chopped berries, then pour the mixture into the muffin trays (should make 10-12 muffins.

  5. Place tray in oven and bake for 25 minutes or until a skewer comes out clean. Allow to cool completely before removing from trays. Best stored in the fridge if not eaten within 2 days and they freeze well.


uncooked muffins web.jpg
fresh muffins in tray web.jpg
strawberries web.jpg

Quinoa Porridge

quinoa-porridge

This one is for all the mums who are breastfeeding child with allergies or intolerances. Why? Because I can still distinctly remember staring blanking into my pantry searching for a satisfying breakfast while undertaking an elimination diet for my 2-year-old's eczema and non-IgE allergies. 

Only a breastfeeding mum, 3 weeks into an elimination diet, knows just how much a pain in the bum preparing breakfast can be.

If you are egg-free, soy-free, wheat-free, gluten-free, nut-free, oat-free and dairy-free breakfast you can feel like there's no safe foods to turn to - especially for breakfast when you can't reach for a simple omelette or muesli. 

That's where your seeds and gluten-free grains can come in. Staples like quinoa, brown rice and buckwheat are filled with minerals, proteins and starches to help you feel full, have regular bowel motions and give you plenty of energy for chasing your crazy kidlet around the place.

My youngest has stopped breastfeeding but our whole family still continues to eat quinoa porridge for breakfast....because it tastes delicious!

Want some more support with healthy diet options during your elimination diet? Get in touch book an appointment

- Lucy x

Ingredients

  • 1/2 cup of quinoa (see notes)
  • 1 cup of water
  • 1/2 cup of safe milk 
  • 1 banana
  • 1 tsp of sweetener (see notes)
  • 1 tsp of cinnamon powder
  • 1 medjool date, pit removed (optional)
  • Extra water for rinsing and soaking
  • Extra fruit, seeds and nuts for toppings

Method

  1. If possible soak the quinoa overnight in the bowel with plenty of water.
  2. In the morning strain the quinoa in a sieve and rinse throughly.
  3. Place quinoa and the cup of water in a small pot on high heat.
  4. Cover and bring to the boil.
  5. Reduce to a low heat and cook for about 10 minutes until most of the water is absorbed.
  6. On the low heat break the banana into pieces and add it to the pot with your choice of milk, the cinnamon and date if you are using it.
  7. Stir over low heat until the porridge is a consistency you like.
  8. Spoon into a bowl and top with slice fruit, crushed raw nuts and seeds.

Serves 2

Tips

  • For quinoa I recommend you use tricolour or plain white variety as they make the porridge a creamier consistency.
  • It's not critical that you soak the quinoa but doing this will release phytates from the seeds. This anti-nutrient compound can prevent the absorption of some minerals so soaking and rinsing helps to remove this from the quinoa.
  • Safe milk may be coconut milk, almond milk, rice milk.
  • I prefer to use maple syrup for a sweetener but you can use honey or rice malt syrup depending.
  • Store any leftover porridge in an air-tight container to use for tomorrow's breakfast.
Quinoa-porridge-insta.jpg

Hot Cross Cookies

golden hot cross cookie.jpg

I love hot cross buns, and usually make a couple of batches around Easter for the kiddies because they love them too! But with my youngest being off gluten, dairy and soy and me not having enough time to play around with a gluten free recipe for hot cross buns, I decided to work on something a little easier and different, hot cross cookies!

And boy, have they been a hit! They are soft, with a hint of spice and just the right amount of dried fruit. Easy to make, and easily adapted to suit any other intolerances, such as nuts or eggs.

I hope you enjoy these hot cross cookies, just in time for Easter but they are literally perfect for any other occasion x Renee

Prep time: 5 mins

Cooking time: 15-20 mins

hot cross cookie ingredients web.jpg

INGREDIENTS

  • 2 ½ cups plain flour (for gluten free use: 1 cup almond meal, 1 cup brown rice flour, ½ cup tapioca/arrowroot flour)

  • ½ cup coconut sugar (you can also use regular sugar)

  • ¼ cup nut butter (you could also use sunflower seed butter or use more coconut oil)

  • ½ cup coconut oil

  • 2 tsp vanilla essence

  • 1 ½ tsp ground cinnamon

  • ½ tsp ground ginger

  • ¼ tsp ground nutmeg

  • 1/8 tsp ground cardamom

  • 1/8 tsp ground fennel

  • 1/8 tsp salt

  • 2 tbs cacao powder

  • 1 large egg (for egg free use 1 large banana mashed)

  • 1 ½ tsp baking powder

  • 1 tsp baking soda

  • ¾ cup dried fruit (1/2 cup sultanas, ¼ cup dried cranberries, ¼ cup apricots, roughly chopped)

‘Cross’ batter

  • 2 tbs plain flour (for gluten free, use tapioca/arrowroot flour)

  • 1 tbs rice malt syrup

  • 1 tsp vanilla extract

  • 1-2 tbs milk (dairy, non dairy etc)

METHOD


  1. Preheat the oven to 180 degrees Celsius. Line two baking trays with baking paper and set aside.

  2. Cream together the eggs (or banana), sugar, nut butter, coconut oil and vanilla essence.

  3. Add all the remaining cookie ingredients, except the dried fruit, and combine until well mixed. Then add the dried fruit and mix in.

  4. Using a tablespoon, spoon the mixture out and form into golf ball sized balls. Place on the baking tray, evenly spaced (these will spread) and gently flatten with your hand or with a fork.

  5. Combine the ‘cross’ batter ingredients, adding the milk in 1/2 tsp increments, until smooth and without lumps. You want this mixture to be thick enough to squeeze through a piping bag (or drizzled over the cookies) and not too runny or it will spread. Pipe the mixture across each cookie, forming a cross.

  6. Place trays in the oven and bake for 15-20 minutes. Allow to cool completely before removing from baking tray.

Hot cross cookie on plate web.jpg

Dairy Free Chocolate Popsicles

Prep time: 10 minutes

Freezing time: 2 hours

Serves: 4-6

These are a massive hit in our house! I love making these chocolate popsicles because they are dairy free, low sugar and super quick to make! I can whip them up in the morning or early afternoon, knowing that in a couple of hours they will be ready, perfect for those hot days when you need to cool off AND keep the kids happy!

If you need to keep them fructose free omit the dates, otherwise don't be afraid of the realistically small amount of sugar in them! Dates are also fibre rich which helps to slow down the absorption of sugar, and the addition of them in these popsicles adds a special sweetness and creaminess to the texture.

You can also play around with the flavours, omitting the cacao and swapping for carob powder or keeping them vanilla flavoured. If there's a cashew allergy, swap for other nuts such as almonds or macadamias or omit altogether.

I hope you enjoy my dairy free chocolate popsicles as much as we do in my house! x

INGREDIENTS

  • 1/2 cup raw cashews

  • 250 mls coconut milk (you could also use almond, rice or another non dairy milk)

  • 3 fresh dates, roughly chopped

  • 1 tsp vanilla essence

  • 2 tbs cacao powder

  • 2-3 tbs rice malt syrup

METHOD

  1. In a food processor or blender, process the cashews until a paste is formed.

  2. Add the rest of the ingredients and process until smooth.

  3. Pour the mixture into popsicle moulds (I use these and these).

  4. Place in the freezer for 2 hours until completely frozen. You will need to run the moulds under hot water for a for seconds to remove from the mould.

Grain & Refined Sugar Free Granola

jar of granola web.jpg

My go to breakfast pretty much 7 days a week is eggs in some form or other, but every now and then I really want crunchy granola with a bit of fruit and natural yogurt. I'm finding myself eating fewer grain based meals due to digestive issues, it really helps to cut down that stodgy and bloated feeling post eating that I often experience with things like oats. I'd been working on a grain free granola recipe in my head for quite a few months before I finally whipped out the ingredients and had a crack at making it, and boy is it delicious (and easy to make)!

I have this as a snack in the arvo when I need a little pick me up as crunchy foods are great for improving focus and concentration due to the work of our jaws having to chump those harder foods, and the protein and good fats give that slow burn that maintains energy for the rest of the day.

This grain and refine sugar free granola can be enjoyed with yogurt, fruit and milk (dairy free or otherwise), but its also great as a topper for fruit and yogurt or even eaten like trail mix. Enjoy! x Renee 

granola ingredients web.jpg

INGREDIENTS

  • 2 cups buckwheat groats
  • 1/2 cup sunflower seeds
  • 1/2 cup almonds
  • 1/4 cup hazelnuts
  • 1/4 cup chia seeds
  • 1 cup shredded coconut
  • 1/4 cup melted coconut oil
  • 1/4 cup rice malt syrup
  • 2 tsp vanilla essence/extract
  • 1/2 tsp ground cinnamon
uncooked granola.jpg

METHOD

  1. Preheat oven to 180 degrees Celsius. Line two baking trays with baking paper or silicon baking mats and set aside.
  2. Roughly chop the almonds and hazelnuts and place in a large bowl with the remaining ingredients.
  3. Combine well until thoroughly mixed. Scoop half the mixture on each baking tray and spread across thinly and evenly.
  4. Place in the oven and bake for 15 minutes, then swap the trays in the oven and stir the mixture around to ensure even baking.
  5. Bake for a further 20-30 minutes until golden brown. Allow to cool completely before placing in an airtight container. 

Homemade Hazelnut Chocolate

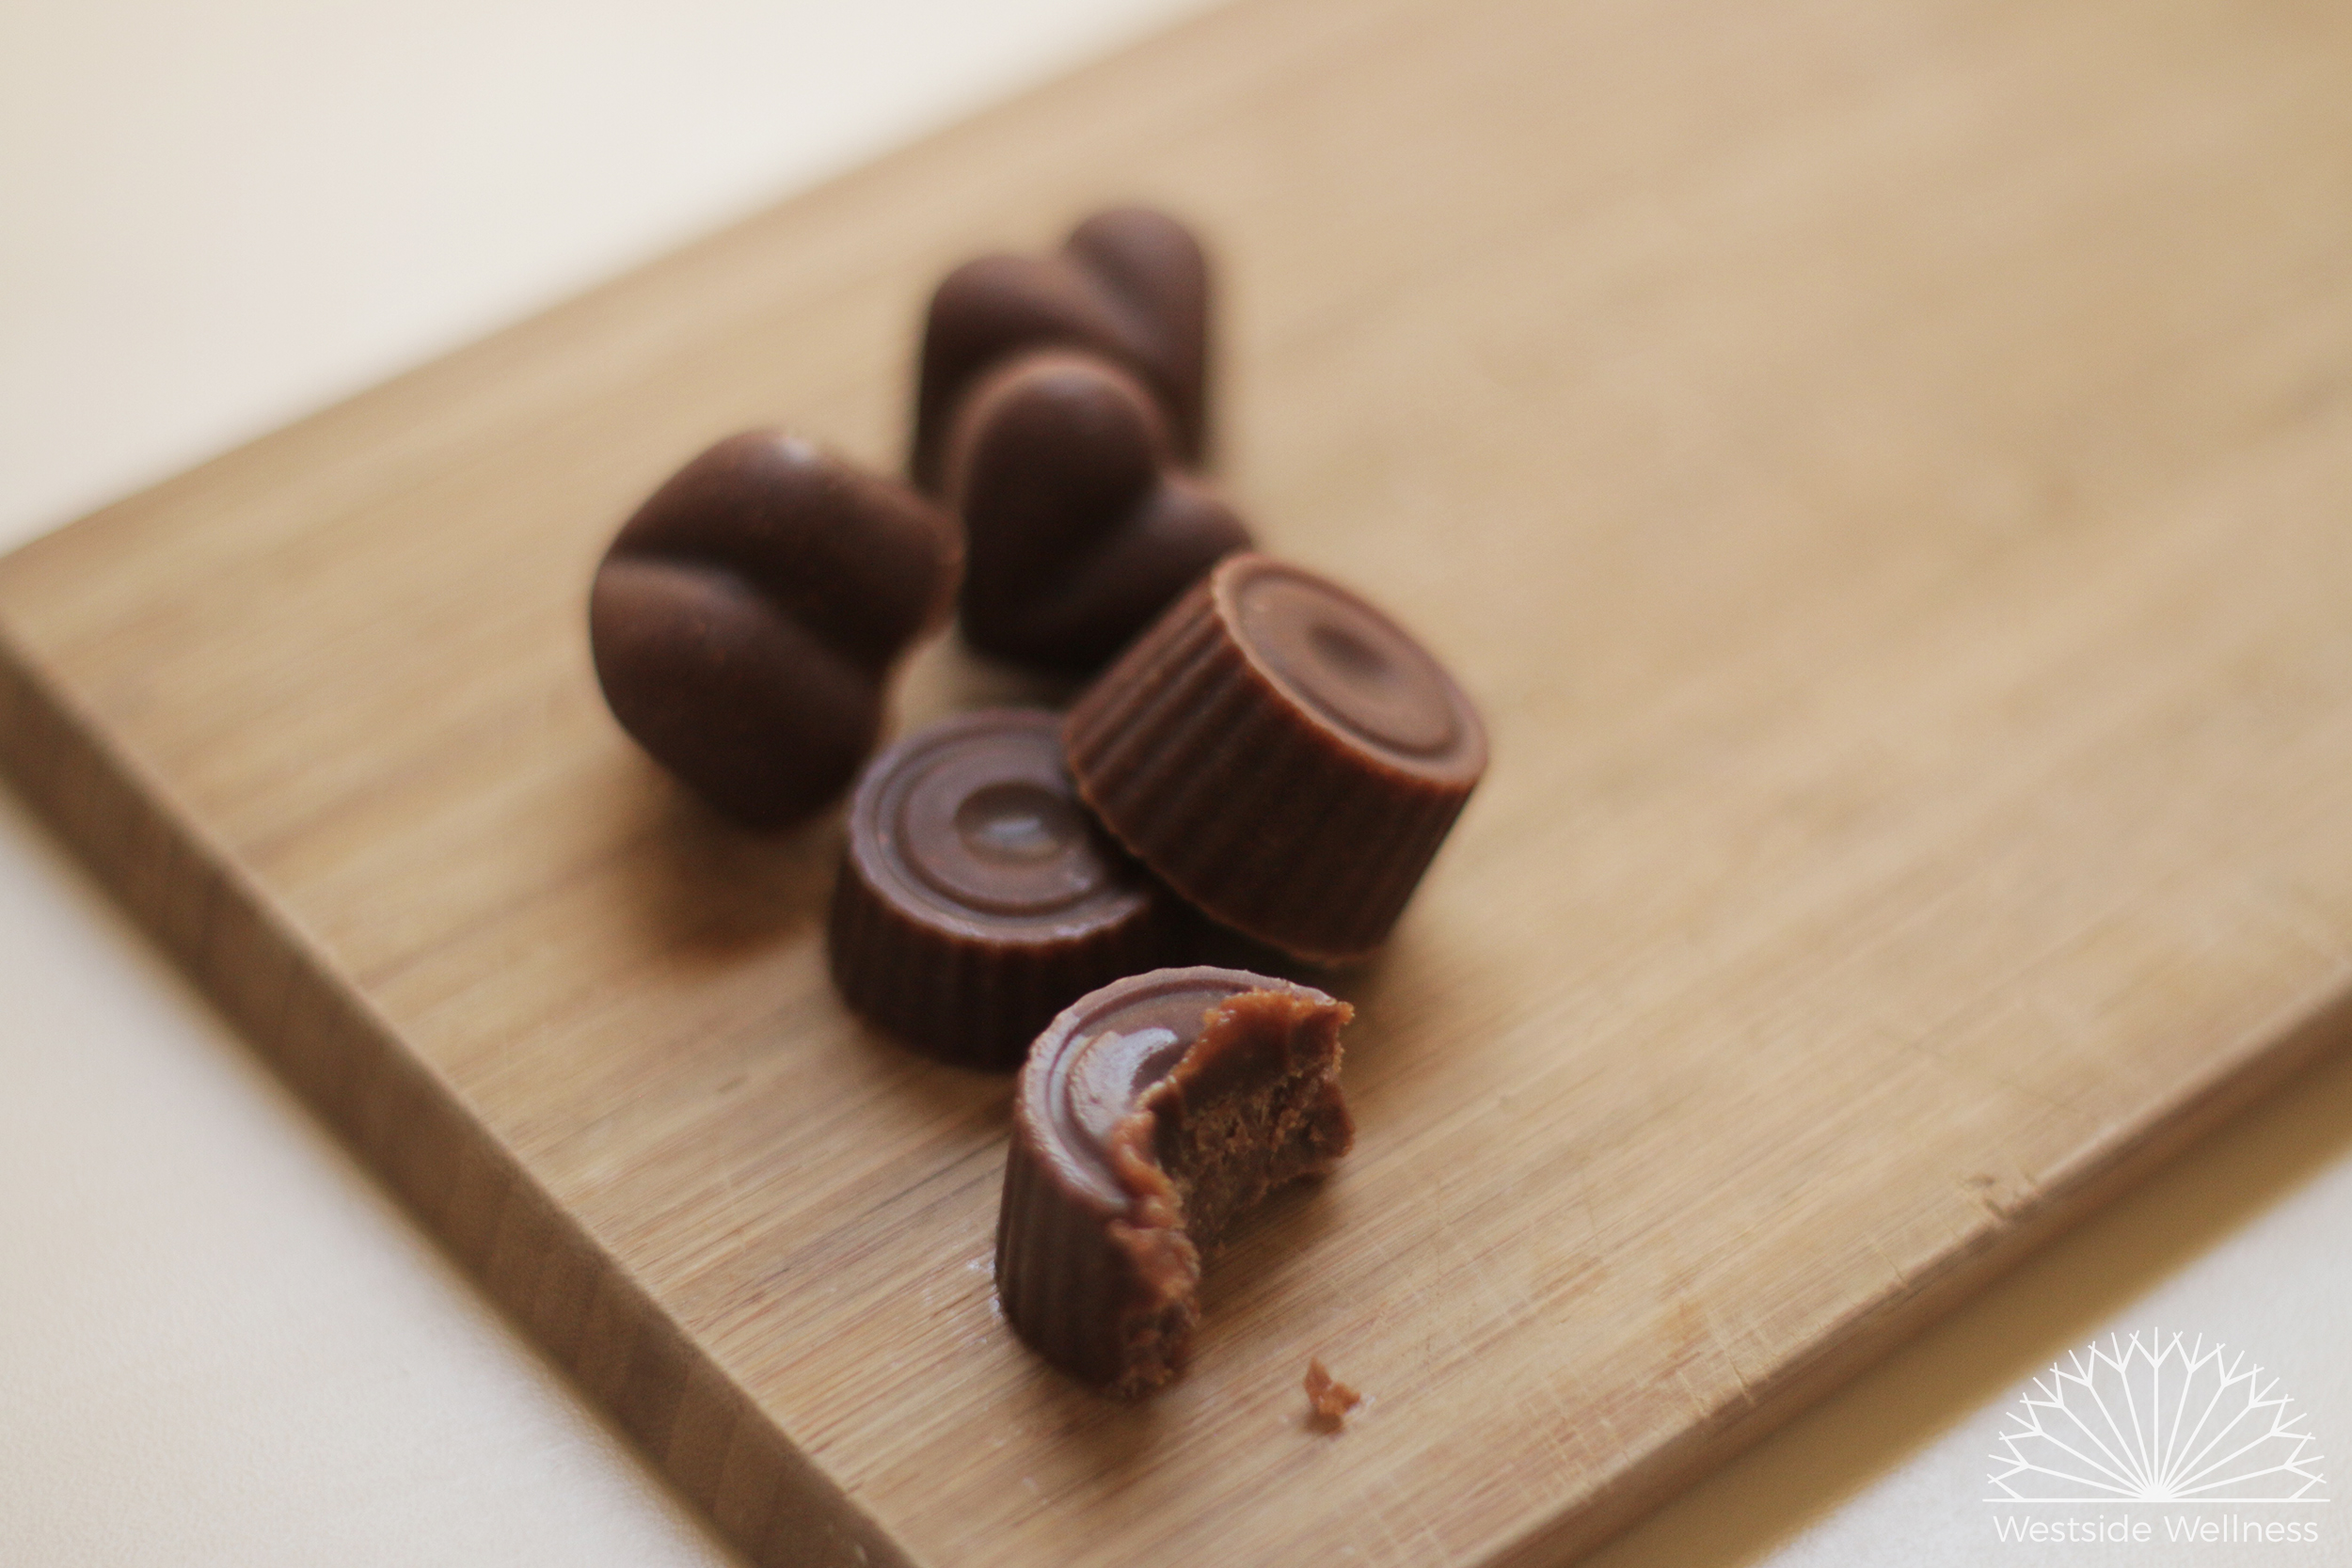
I love chocolate so much! Its such a nice treat to have here and there, and although I thoroughly enjoy my quick chocolate recipe, I wanted something that was a bit more true to store bought chocolate without the dairy, refined sugar and fillers.

I always have cacao butter on hand in the cupboard, it stores well and its a nice thing to have on hand for desserts. I had been playing around with a 'nutella' recipe using hazelnuts and thought why not combine the two to make chocolate? The result? A delicious, dairy and refined sugar free chocolate that ticks ALL the boxes. It's enjoyed by all members of my family (especially my youngest who has to avoid dairy to manage his eczema), and I made a big batch to give away in little jars as gifts over the festive season and they were a HUGE hit!

I hope you enjoy this chocolate recipe as much as I do. xRenee

roasting hazelnuts.jpg

Cooking time: 25 mins

Total time: 1 hour 25 mins

Makes: 3-4 trays of chocolates in moulds

Ingredients

  • 1 cup hazelnuts*

  • 200 g cacao butter, roughly chopped

  • 1/8-1/4 tsp salt

  • 1 1/2 tsp vanilla essence

  • 100 g rice malt syrup**

  • 1/4 cup cacao powder

Method

  1. Preheat your oven to 150 degrees Celcius.

  2. Line a baking tray with baking paper (or silicon baking sheet) and spread hazelnuts on top. Bake for 10-15 mins, rolling the hazelnuts around at the halfway point for even roasting. Remove from oven once the skins have become darker brown and started to split.

  3. Allow the hazelnuts to cool, then place in an airtight container and shake vigorously until the majority of the skins have come off. Once the skins have been removed place in a food processor/blender/thermomix and process until smooth, scraping down the sides to ensure its processed evenly. Set aside.

  4. Set up a double boiler (a pot half filled with water with a glass or metal bowl on top) and bring the water to the boil. Add the cacao butter and melt, stirring occasionally with a whisk.

  5. Once the cacao butter has melted add the remaining ingredients (including the hazelnut butter) and whisk over the heat until well combined.

  6. Pour the mixture into chocolate moulds (I place the moulds on a baking tray so they don't spill as I transfer) and place them in the freezer for 1 hour. As you are pouring the chocolate mix, stir regularly as the hazelnut butter tends to sink to the bottom. These chocolate don't melt as quickly as other homemade ones, but are still best kept in the freezer.


*You can use 1/2 cup of store bought hazelnut butter instead

**You can use any other liquid sweetener (honey, maple, coconut nectar etc) or very finely ground coconut sugar. Using rice malt syrup allows this recipe to be fructose friendly.

small chocolates website.jpg

Healthy Ginger Bread Cookies

If you like to get your bake on for the festive season, but want to cut down any nasties and/or sugar, than this recipe is for you!

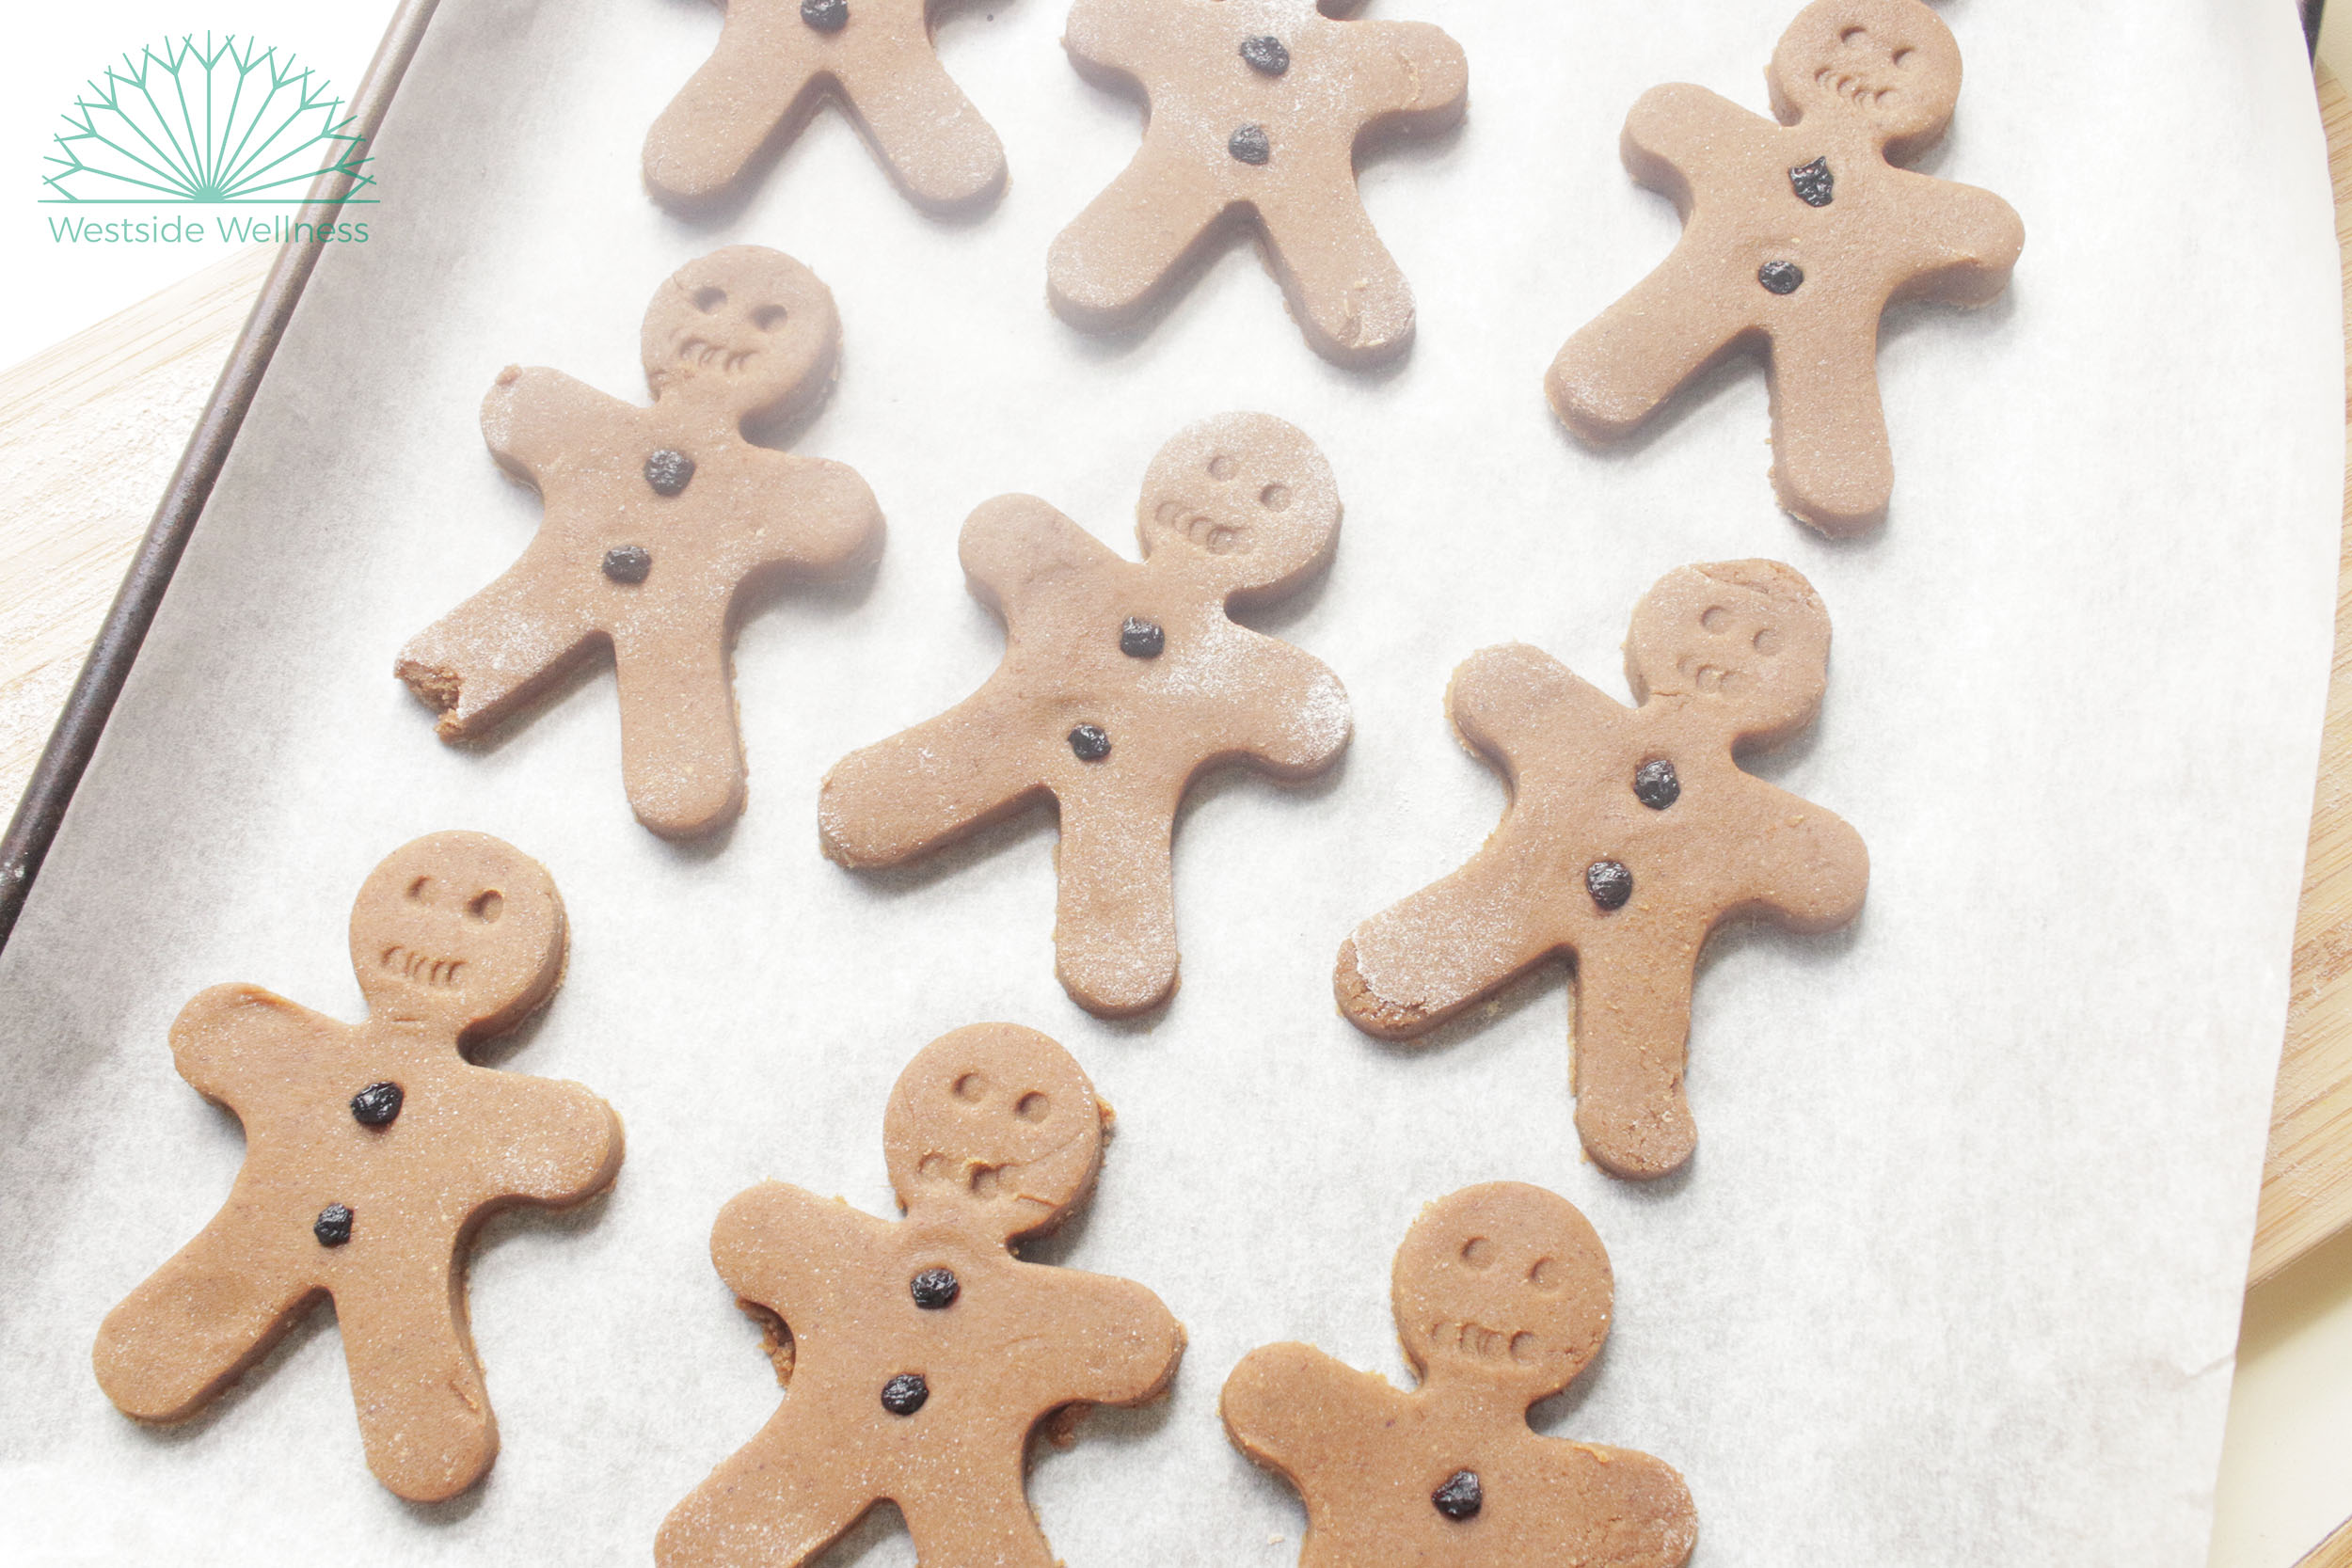
These gingerbread cookies taste like the real deal but contain significantly less sugar AND are gluten, dairy and egg free, so perfect for any loved ones who may have intolerances.

You can make the dough well in advance, or double the batch to make a ton of cookies. Get creative and coat the cookies with our quick chocolate, or add nuts, seeds or dried fruit to jazz them up. Enjoy! xRenee


ginger bread ingredients web vers.jpg

Makes about 20-30 small cookies, less if your cookie cutter is bigger

rolled out ginger bread dough web vers.jpg

DRY INGREDIENTS

  • ½ cup besan (chickpea flour)

  • ½ cup +  2 tbs arrowroot flour 

  • 1 cup + 2 tbs brown rice flour

  • ½ tsp baking soda
  • ¼ tsp salt
  • 1 1/2- 2 tsp ginger powder
  • 1 tsp ground cinnamon
  • 1/4 tsp ground cardamon
  • ¼ tsp nutmeg
  • pinch of ground cloves
  • ½- ¾  cup of fine coconut sugar (depending on how sweet you’d like them)

WET INGREDIENTS

  •  ¼ cup of soy, almond (or any nut milk) or rice milk
  • 1 tbs vinegar (white or apple cider is best)
  • ¼ cup molasses
  • 1/3 cup unrefined coconut oil
  • 1 flax egg (1 tbs ground flaxseed + 2 tbs water, mixed together and set aside)
  • 1 tsp vanilla extract
uncooked gingerbread web vers.jpg

METHOD

  1. Add the vinegar to the milk and set aside.
  2. In a bowl combine all the dry ingredients, except the coconut sugar, and set aside.
  3. In a large bowl, cream the coconut oil, molasses, flax egg, vanilla and coconut sugar with an electric beater until well combined, then add the milk and vinegar mix and beat for a few seconds until combined.
  4. If you have an electric cake mixer, this next part will be easier. You need to slowly add the dry ingredients to the wet ingredients. I have done this without a mixer, you can add a few tablespoons at a time and mix it in by hand (the mix is quite wt, don't freak out it works!). Once everything is combined scoop into a container, cover with a lid and place in the fridge for 4-6 hours.
  5. When you are ready to bake, take the dough out about 45 minutes before you’d like to cook.
  6. Preheat the oven to 180 degrees. Line several baking trays with baking paper and set aside.
  7. Roll out your dough, between two sheets of baking paper, until it is about ½ cm thick. Using your chosen cookie cutter, cut out your cookies and place on your baking trays*. They will expand a little so place them with a bit of space between each one. Bake for around 10 minutes, but keep an eye on them. You want them to brown, but still be soft. Allow to cool, and then dust with icing sugar if you like or serve as is.

* If you don’t have enough space on your trays for all your dough, place the dough back in the fridge for 15 minutes or so until you’re ready to cut them out again.

cooked gingerbread web vers.jpg

Dairy & Refined Sugar Free Quick Chocolate

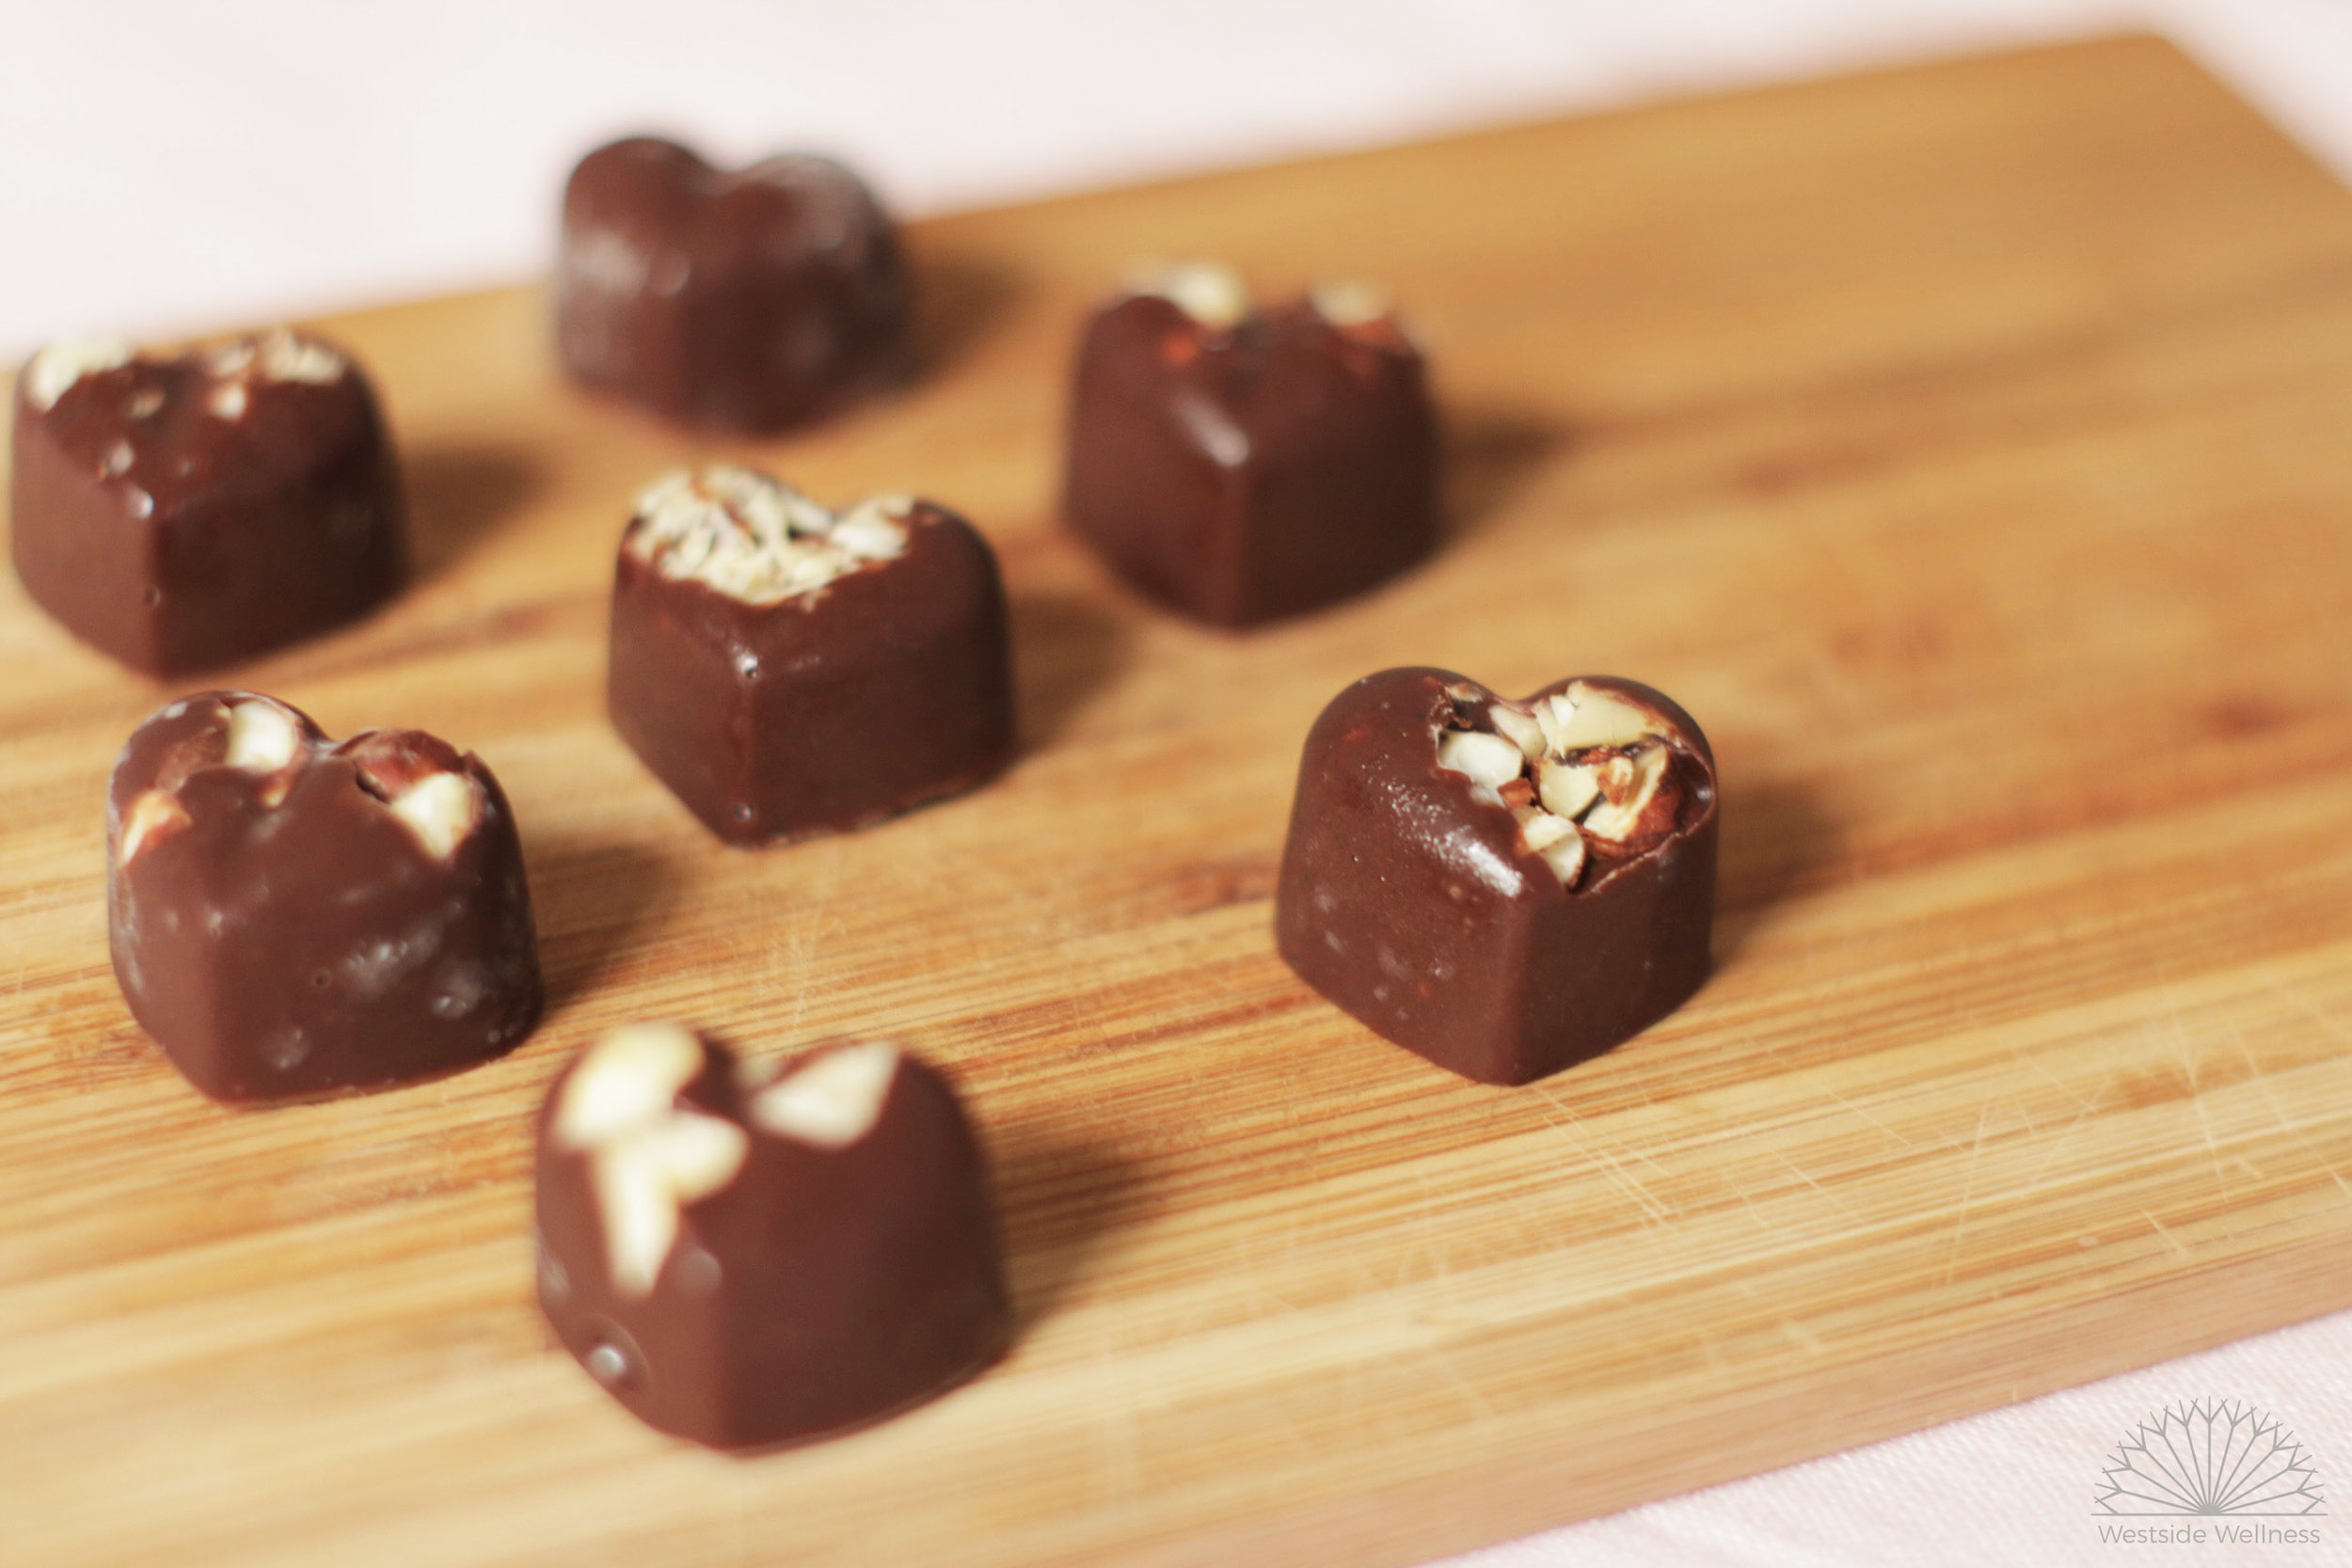
chocolate lovehearts.jpg

I love chocolate! There I said it! Sometimes I get cravings for a little choccie and know that if I buy some sugar filled crap or even the so called 'sugar free' chocolates that are actually delicious, I will feel yuck and totally remorseful about the choice. So I came up with this recipe for quick homemade chocolate. It takes a couple of minutes to prep than you can chuck it in the freezer and be eating it in as little as 15 minutes (if you're happy with something a little fudgy) and up to 30 minutes for 'proper' chocolate.

Because its made with coconut oil, it does need to stay refrigerated or frozen (I actually like keeping mine in the freezer, helps to stop eating it all in one go!). If you don't have chocolate moulds, you can line a small baking tray with baking paper, pour the mix on top and chuck in the freezer. Break it up into chocolate bark.

This recipe is super versatile, you can add frozen berries, dried fruit, crushed nuts and seeds. You can also you the liquid mix to dip chocolates or ice cream blocks into or drizzle over the top of desserts. Enjoy!

-Renee x

Ingredients

  • 3 tbs coconut oil
  • 2 tbs rice malt syrup
  • 1 ½ - 2 tbs cacao (depending on how strong you like your chocolate)
  • 1/8 tsp salt
  • Optional- 10 nuts (almonds, hazelnuts, cashews etc), roughly crushed

Method

  1. On a low heat, gently melt all the ingredients together, using a whisk to combine.
  2. If you're using nuts, place a small amount in each mould or spread onto the baking paper.
  3. Allow to cool for a minute, whisk again to combine, pour into chocolate moulds * and place immediately in the freezer. These will take 20-30 minutes to completely set, but I also like to eat them after about 10-15 minutes as they have a consistency like fudge.

Once set, the chocolate should be kept in the fridge or freezer.

*I got cheap heart shaped moulds from kmart, and chocolate block moulds from Heavenly Cacao

eaten chocolate.jpg