soy free

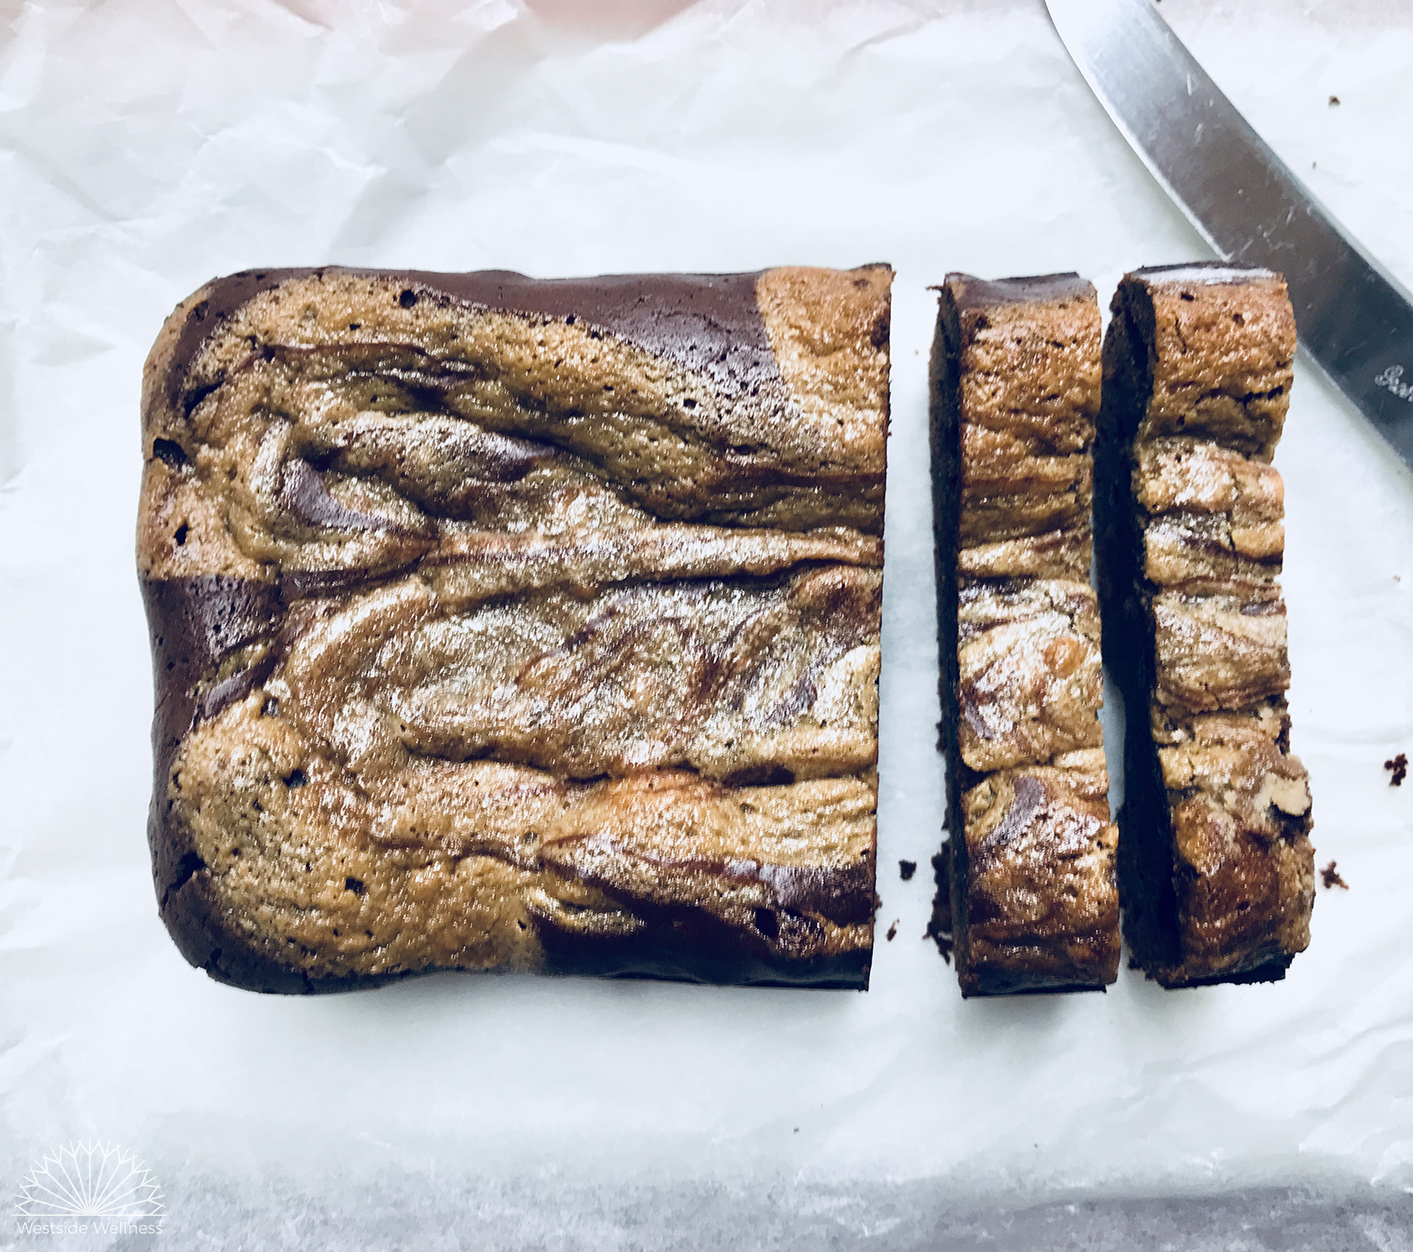
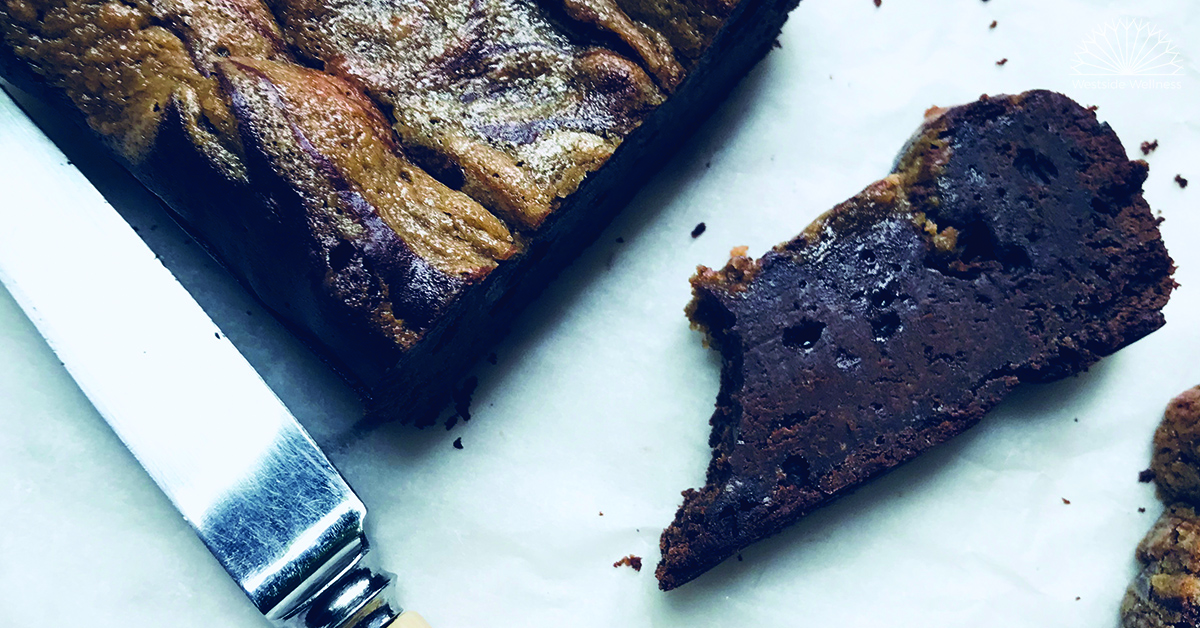
Gluten-Free Tahini Brownies

Tahini-Gluten-Free-Brownies.jpg

Some people are not fans of tahini with sweets, but I LOVE it - the more fat the more satiating, IMO. 

When I was on a strict elimination diet while breast-feeding my youngest with food intolerances this was my go to sweet treat in the evenings when I was craving a little sumthin'-sumthin'.

The Health Benefits of Tahini

Tahini is made from sesame, so it's packed full of minerals like calcium and iron and also loaded with unsaturated fats to keep you feeling fuller for longer.

Adding tahini to brownies was just my way of tricking myself into thinking I was giving myself a 'healthy' sweet treat - but really it's just because I love how it combines with there bitterness of the chocolate.

Ingredients

  • 1 x 120g of chopped dark chocolate - I love Loving Earth's Dark Chocolate, but you can also make your own 
  • 3 x tbs coconut oil
  • Pinch of salt
  • 4 x tbs hulled tahini (divided into 1 tbs and 3 tbs portions)
  • 3 x tbs of arrowroot powder (or cornstarch)
  • 2 x tbs of raw cacao powder
  • 2 eggs
  • 1/2 cup of coconut sugar
  • 2 x tbs maple syrup (or rice malt syrup)

Method

  1. Preheat oven to 180C.
  2. Line a bread loaf pan with baking paper (if not using a silicon one). Otherwise coat liberally with coconut oil to prevent sticking.
  3. Melt chopped chocolate with 1 x tbs of tahini, salt and coconut oiling a double boiler over low heath. Continue to stir until well combined and then remove from heat. 
  4. Combine raw cacao powder and arrowroot in small bowl. Mix with a whisk or spoon until the powders are well mixed and there are no lumps.
  5. Whisk eggs and coconut sugar in a large bowl until fluffy and smooth (about 3 mins).
  6. Spoon the liquid chocolate into the egg and sugar mixture, continue to whisk for another minute.
  7. Slowly add the arrowroot mixture to the bowl while continuing to whisk the mixture until a thick chocolate batter forms. Spoon this mixture into there prepared bread loaf tin.
  8. Stir together the maple syrup and 3 x tbs of tahini in a small bowl until thick and creamy paste forms. Dollop the maple tahini cream onto the top of chocolate batter and fold it into the top of the brownie batter with a fork to create a swirl-like pattern on the surface.
  9. Bake for 22 mins.
  10. Remove from oven and allow to completely cool before removing from the pan and cutting. 

Makes 12

gluten-free-tahini-chocolate-brownies

Veggie-Loaded Lasagne

vegetarian-gluten-free-lasagne

We are gluten and dairy-free at our house due to our youngest child having food intolerances. Fortunately there are many wonderful recipes out there that can mean you can still enjoy foods like pasta and lasagne even when you can't eat gluten. 

I've adapted this recipe from The Healthy Chef and tweaked it for our household's dietary needs. I recommend making the basic recipe below and then once you've got the hang of this go ahead and adapt it to your own palate preferences.

Ingredients

  • 1.5L x tomato passata
  • 1/3 cup of red wine
  • 1 x brown onion, diced
  • 2 x cloves of garlic, finely chopped
  • 1 x tin of brown lentils, strained (or 3/4 cup of rinsed red lentils)
  • 1/2 bunch of basil leaves, chopped
  • 1 x bunch of greens (kale, Swiss chard or spinach greens), washed and chopped
  • 2 x tbs Extra virgin olive oil + extra for roasting pumpkin
  • 1 x small butternut pumpkin, seeded and sliced thinly widthways 
  • 1 x tsp of ground cinnamon 
  • 1 /2 x tsp of ground nutmeg
  • 2 x cups of raw cashews, soaked for 2 hours
  • 1/2 cup of nutritional yeast
  • 1 x cup of water
  • Sprigs of rosemary or thyme for roasting (optional)
  • Salt and pepper for seasoning

Method

  1. Soak raw cashews in water (or speed up the process by soaking in freshly boiled water while you start the cooking process).
  2. Preheat oven to 180C fan-forced.
  3. Place sliced pumpkin on a baking tray and sprinkle with ground cinnamon, nutmeg and prigs of rosemary/thyme if using. Drizzle with 1 x tbs of olive oil. Roast for 20 minutes until golden and pumpkin is cooked (roast for longer if needed).
  4. Heat remaining 1 x tbs of olive oil in a small heavy based saucepan while the pumpkin is cooking. Once the oil is heated add chopped onion and cook over medium heat until translucent and slightly caramelised. Add garlic, lentils and salt and pepper. Stir to coat.
  5. Add tomato passata and red wine. Stir together and reduce heat to simmer on low for 20 minutes to allow flavours to develop. Throw in chopped basil leaves at the end of cooking the tomato sauce. 
  6. Sauté greens in a small amount of oil or water until bright green.
  7. Strain cashews and blend on high with water, nutritional yeast, salt and pepper until combined into a smooth paste. 
  8. Assemble the lasagne in an oven-proof ceramic dish starting with pumpkin, then greens, followed by tomato sauce. Repeat and then top with the cashew paste.
  9. Bake lasagne in the oven for 30 minutes until cashew layer becomes a crust on top.

Serves 8.

Enjoy! Lucy x

pumpkin-veggie-loaded-lasagne

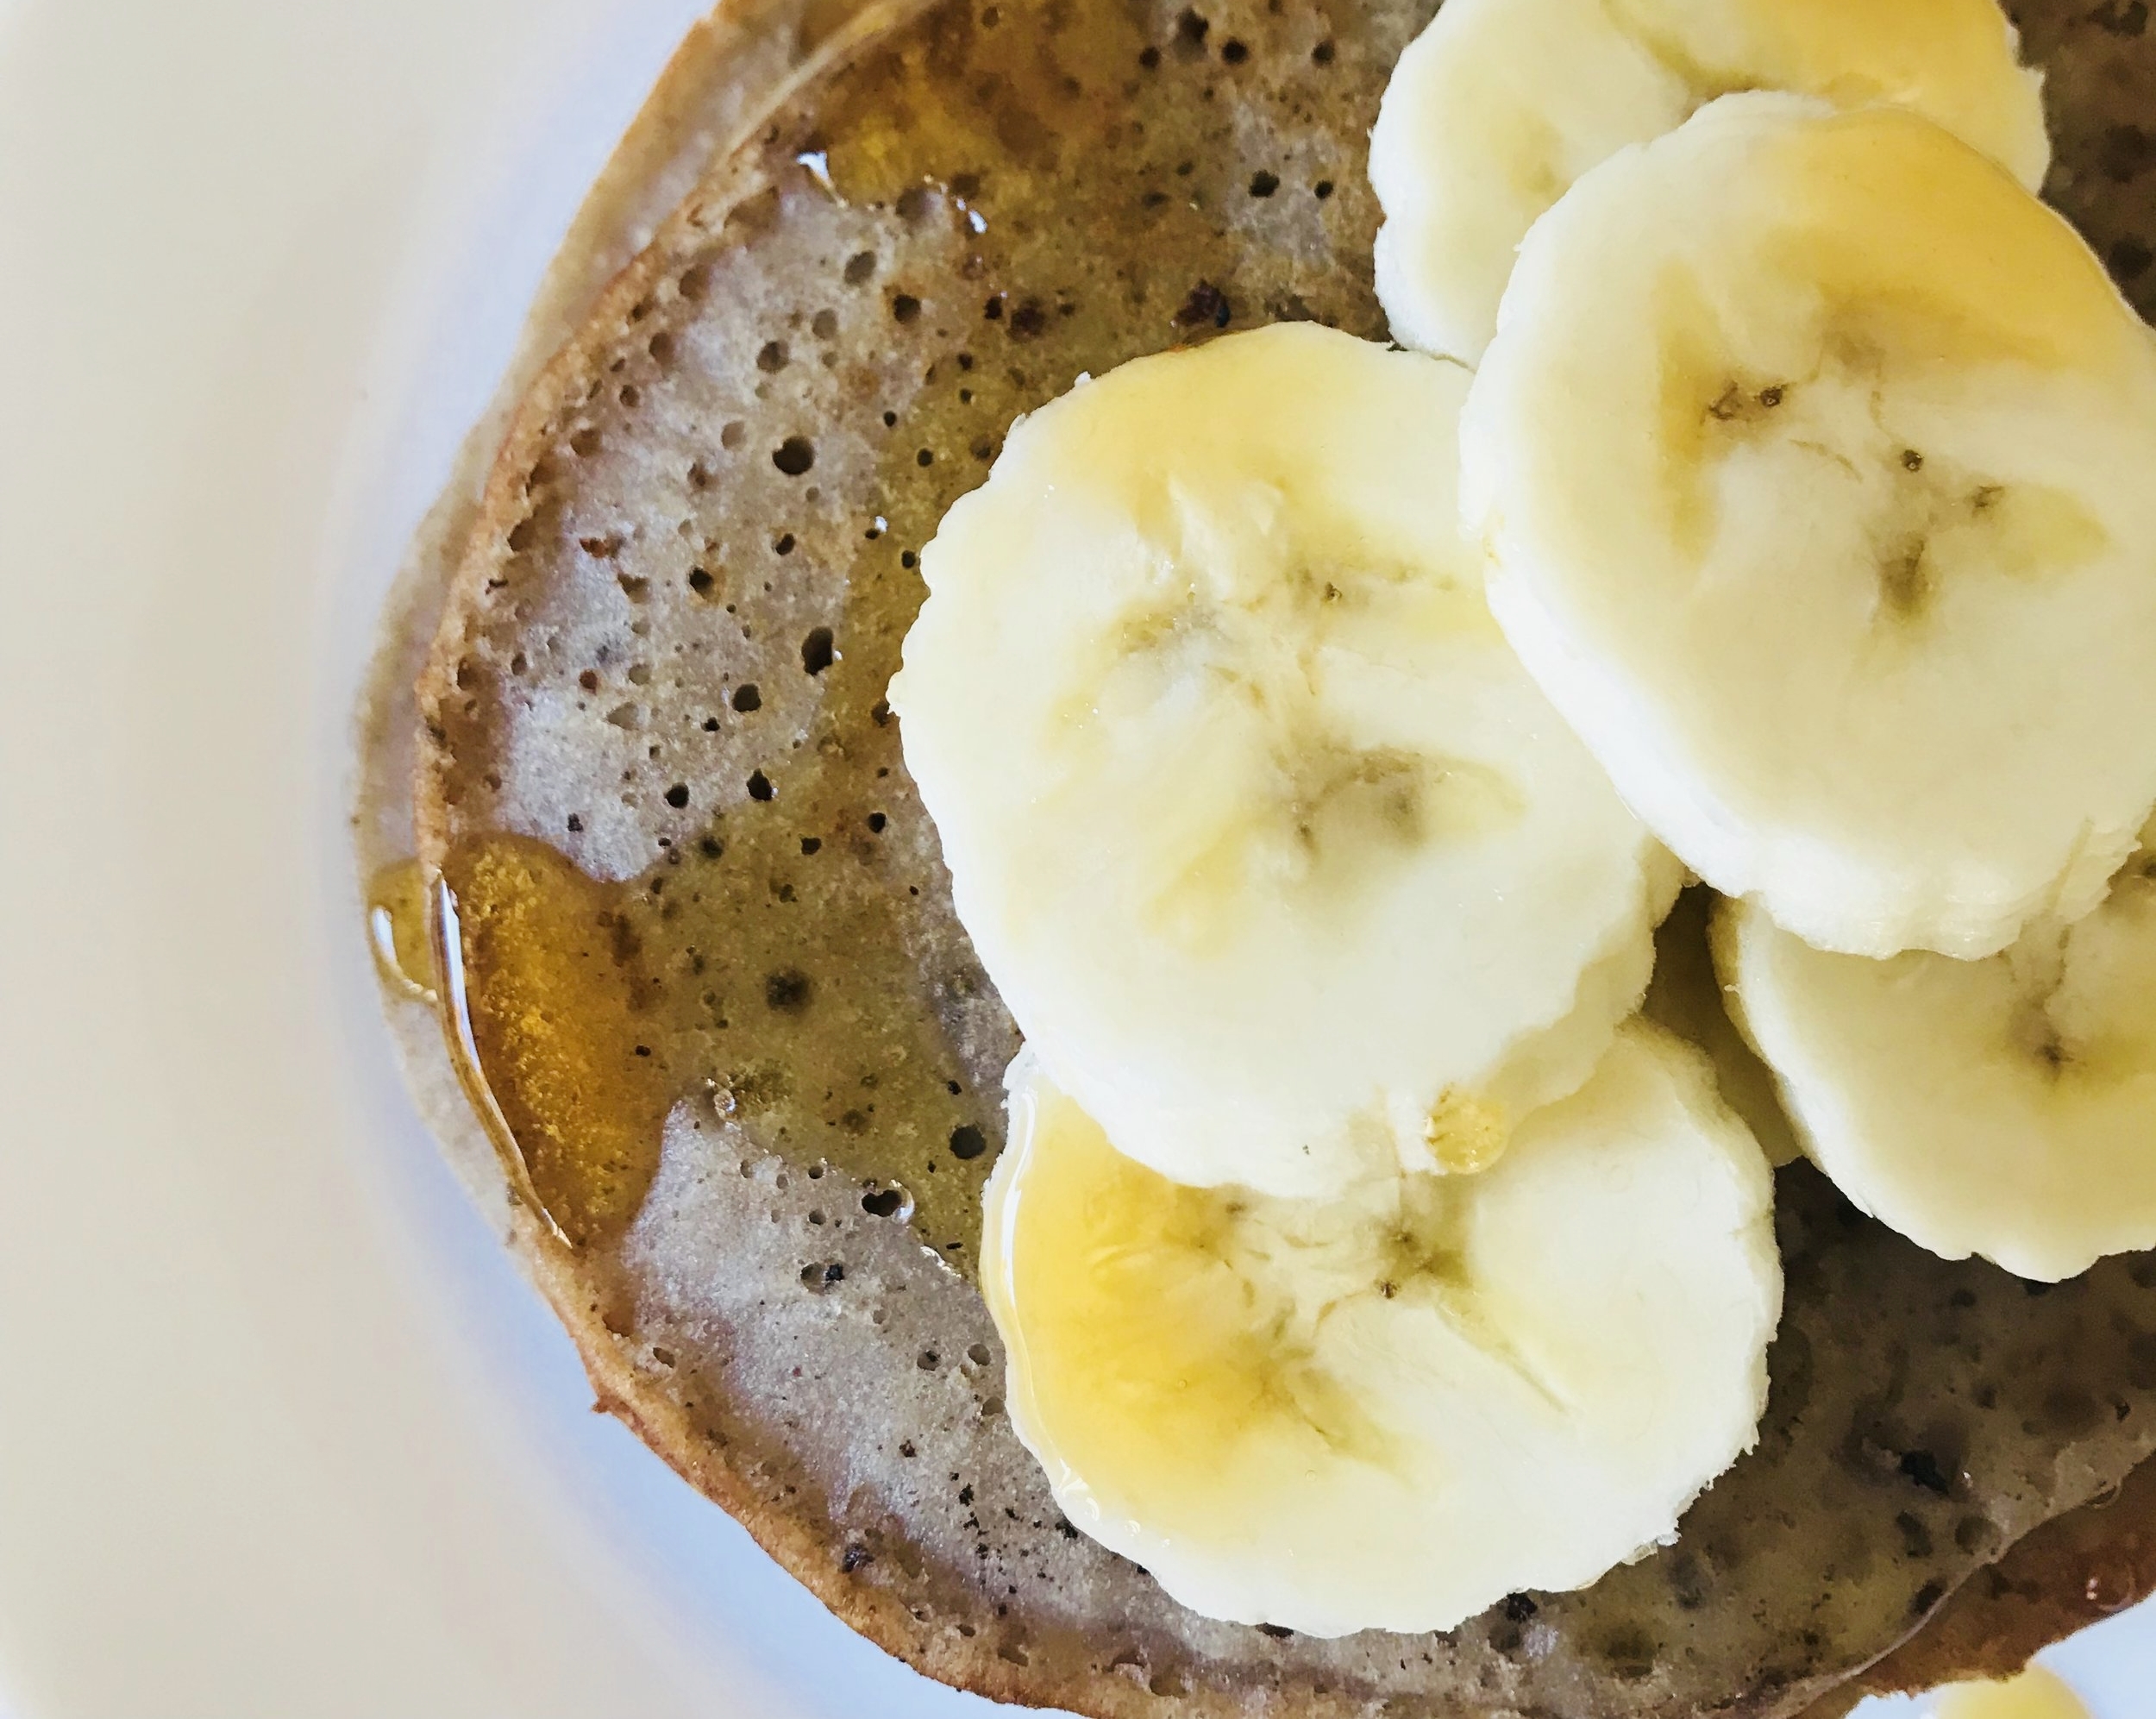
Buckwheat Pancakes

buckwheat-pancakes

When you are dairy-free, egg-free and gluten-free breakfast can feel like a real struggle. Some people turn to meat and veg for breakfast but when you are after something more traditional buckwheat pancakes can be just the ticket!

Buckwheat & Elimination Diets

Many women while breast-feeding undergo strict elimination diets if they suspect their breastfed child has a food allergy or intolerance. When undertaking an elimination optimal nutrition is really important - that's where pseudo grains like buckwheat can come in.

Buckwheat is nutritious because it contains:

  • Magnesium - a important mineral to support brain health, mood and energy. 
  • Manganese - an essential micro mineral needed for growth & immune system health
  • B vitamins - needed for energy, growth and healthy mood.
  • Vegan protein - protein is essential for brain, muscle and 
  • Fibre - regulates blood sugar & fats and assist with moving stool along the digestive tract.
  • Other minerals - such as zinc and iron which are critical to digestive health, cell repair and energy. 

I hope you enjoy this recipe and it becomes a family favourite like it is in our house. 

- Lucy x

Pancake Ingredients

  • 1 x cup of buckwheat flour (untoasted)
  • 1 x serve of chia eggs (see below)
  • 1 + 1/4 cups of plant-based milk (I used cashew milk, but you can also use coconut milk, almond or rice milk)
  • Pinch of salt flakes
  • 1 x tsp of olive oil
  • 1 x tsp of ground cinnamon
  • 1 x tsp of sweetener (such as maple syrup or rice malt syrup)
  • 1 x tsp vanilla essence (optional)
  • Coconut oil for frying (or any other safe oil you wish to use)
  • Chopped fruit or extra sweetener for serving.

Chia Egg Ingredients

  • 2 x tbs chia seeds
  • Filtered water
Chia-seeds.jpg

Method

  1. Grind the chia seeds in a coffee grinder or in a heavy duty motor and pestle. When using the motor and pestle, all up this process takes about 5 minutes (just grind until your hand feels tired, step away and then come back to grinding).
  2. Once ground add 1 x tablespoon of the ground chia to 1/4 of cup of water and allow to for 10 minutes so the chia can become like a gel.*
  3. Once the chia eggs have gelled add buckwheat flour, chia eggs, milk, olive oil, cinnamon, sweetener and vanilla essence (if using) to a food processor and blend on high for 3 minutes.
  4. Add coconut oil to a heavy based saucepan and place on stovetop on high heat.
  5. Once the oil starts to shimmer reduce the heat to lowest setting add about 1 generous tablespoon of the pancake batter to the pan. Heat until bubbles begin to show on the surface of the pancake. Flip the pancake and cook on the other side until golden.
  6. Place cooked pancakes to cool on kitchen towel to soak up any extra oil.
  7. Repeat process with oil and pancake batter until you have finished the batter.
  8. Slice up some fruit and serve with pancakes with some extra sweetener.

Makes 12 pancakes

*Tip: any leftover ground chia meal can be stored in an airtight container in the fridge for 1 month.

Apple & Strawberry Gluten Free Muffins

strawberry muffin web.jpg

I've been working on a gluten free muffin recipe that was also egg/soy/dairy free (so it excluded the most common food intolerances that I encounter) AND wasn't too dense AND delicious. I knew I was onto something when my kids literally gobbled up the first batch that I made using the following recipe!

As with all of our recipes, you can swap things like the gluten free flours for regular wheat/spelt/khorasan flour, the milk for any milk your prefer, the coconut sugar for regular cane sugar and the apple puree for banana (or even pumpkin puree).

These gluten free muffins are perfect for lunch boxes or day trips, they keep well for up to 5 days (although best stored in the fridge) and freeze well. Enjoy! -Renee x

INGREDIENTS

  • 1 1/2 cups brown rice flour

  • 1/4 cup besan (chickpea) flour

  • 1/4 cup arrowroot/tapioca flour

  • 1 tsp baking soda

  • 1 1/2 tsp baking powder

  • 1 tsp ground cinnamon

  • 1/4 tsp salt

  • 1/2 cup coconut sugar (you can also use regular cane sugar)

  • 1/3 cup coconut oil

  • 2 flax eggs (2 tbs ground flaxseed combined with 4 tbs water, mixed well and set aside)

  • 1 cup apple puree

  • 1 tbs apple cider vinegar

  • 1 tsp vanilla essence

  • 1/2 cup milk (nut, soy, rice etc)

  • 1 cup fresh or frozen strawberries, chopped (you can use any berry)

apple puree web.jpg

METHOD

  1. Preheat oven to 180 degrees celsius. Grease two muffin trays and place both on a large baking tray and set aside.

  2. Combine the apple puree, sugar, vanilla essence and coconut oil until well mixed.

  3. Add the flours, salt, baking powder and soda, salt, flaxeggs, cinnamon and milk and process until smooth. 

  4. Gently stir in the chopped berries, then pour the mixture into the muffin trays (should make 10-12 muffins.

  5. Place tray in oven and bake for 25 minutes or until a skewer comes out clean. Allow to cool completely before removing from trays. Best stored in the fridge if not eaten within 2 days and they freeze well.


uncooked muffins web.jpg
fresh muffins in tray web.jpg
strawberries web.jpg